 Previzion
Getting started
Previzion at a glance
Previzion takes you from a script to a storyboard, then a 3D scene, then a movie, in four steps. At each step the AI makes a first draft, and you choose and fix what it made.
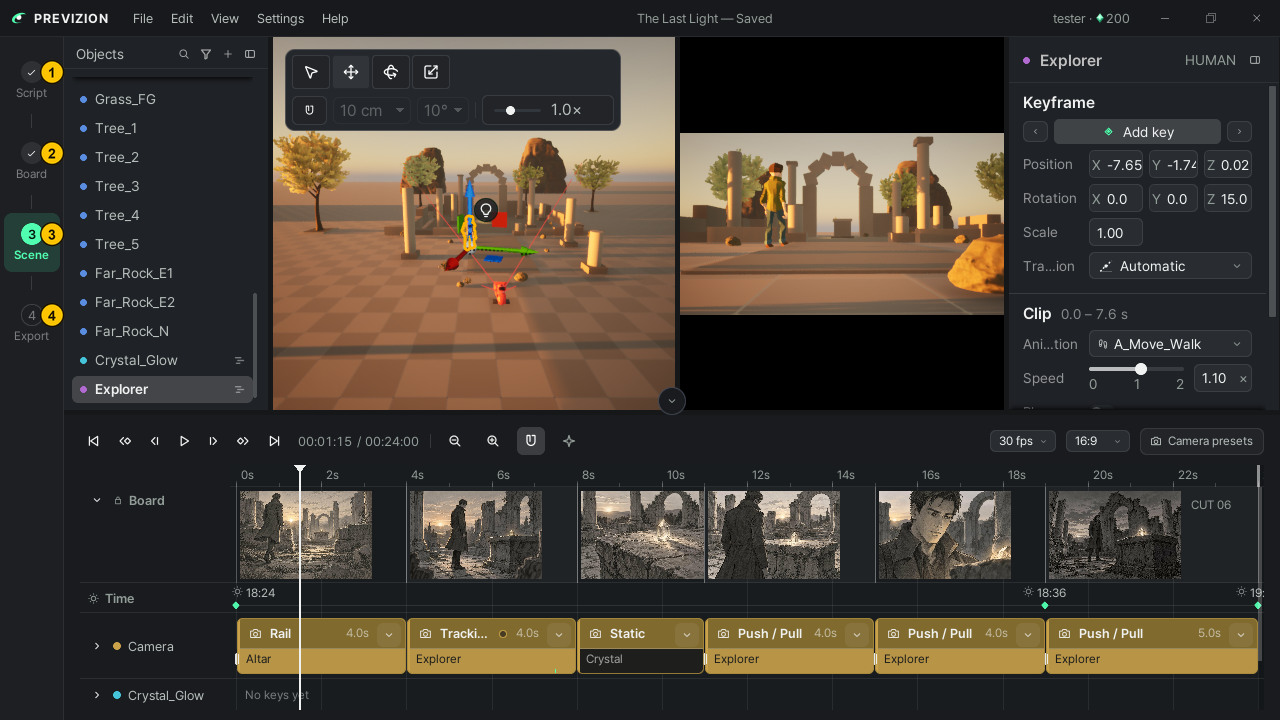
| # | Step | What the AI does | What you do |
|---|---|---|---|
| ① | Script | Nothing | Write the script and set the number and length of the cuts |
| ② | Board | Draws a picture for each cut | Fix the pictures until you like them |
| ③ | Scene | Builds the 3D scene, and edits it when you describe a change | Refine the cameras, the movement and the time of day yourself |
| ④ | Export | Nothing | Save the movie as an MP4 and share it as a link |
What the AI does spends Viz. → Viz · saving · what is sent
Moving between steps
The button on each page (Generate Storyboard, Make Scenes →) takes you to the next step; press the step bar on the left to go back to one you have done. A project opens at the last step you reached.
Start with the tutorial
If you are new, walk through the four steps once with a sample project.
- Press the New to Previzion? card at the front of the project list on the main screen.
- Guide cards point out the screen one part at a time. Press Next to move on.
- When the guide ends, press Try it yourself and play with the sample scene freely.
- To stop, press Exit tutorial or Esc.
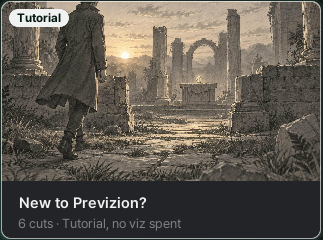
The tutorial spends no Viz. Your changes are not saved, and AI requests and MP4 export are turned off.
Related: Install and sign in · Managing projects · Script
Anything not covered here: ask in the open chat or write to 17iayn@gmail.com.